
Despite the lump of impenetrable mousetrap that was my home-made Cheddar, Colin, I was keen to get back on the cheese-making horse but felt that I need to do some limbering up before I tackled anything too complicated. Paneer is about as simple as cheese gets; milk is curdled and then pressed into a lump. It’s difficult to get wrong and suitable even for an inveterate cheese-mangler like me.
The ingredients are few; for enough paneer to feed two people, start with two litres of whole milk. Supermarket milk is fine, no need to source unpasteurised organic rare breed milk for this one. Heat the milk in a large pan until it reaches boiling point and then add 3-4 teaspoons of lemon juice (you can also try it with vinegar) and stir well. The milk should immediately start to curdle and when it does, remove the pan from the heat. You should have a mass of curds floating in some unattractive green whey.
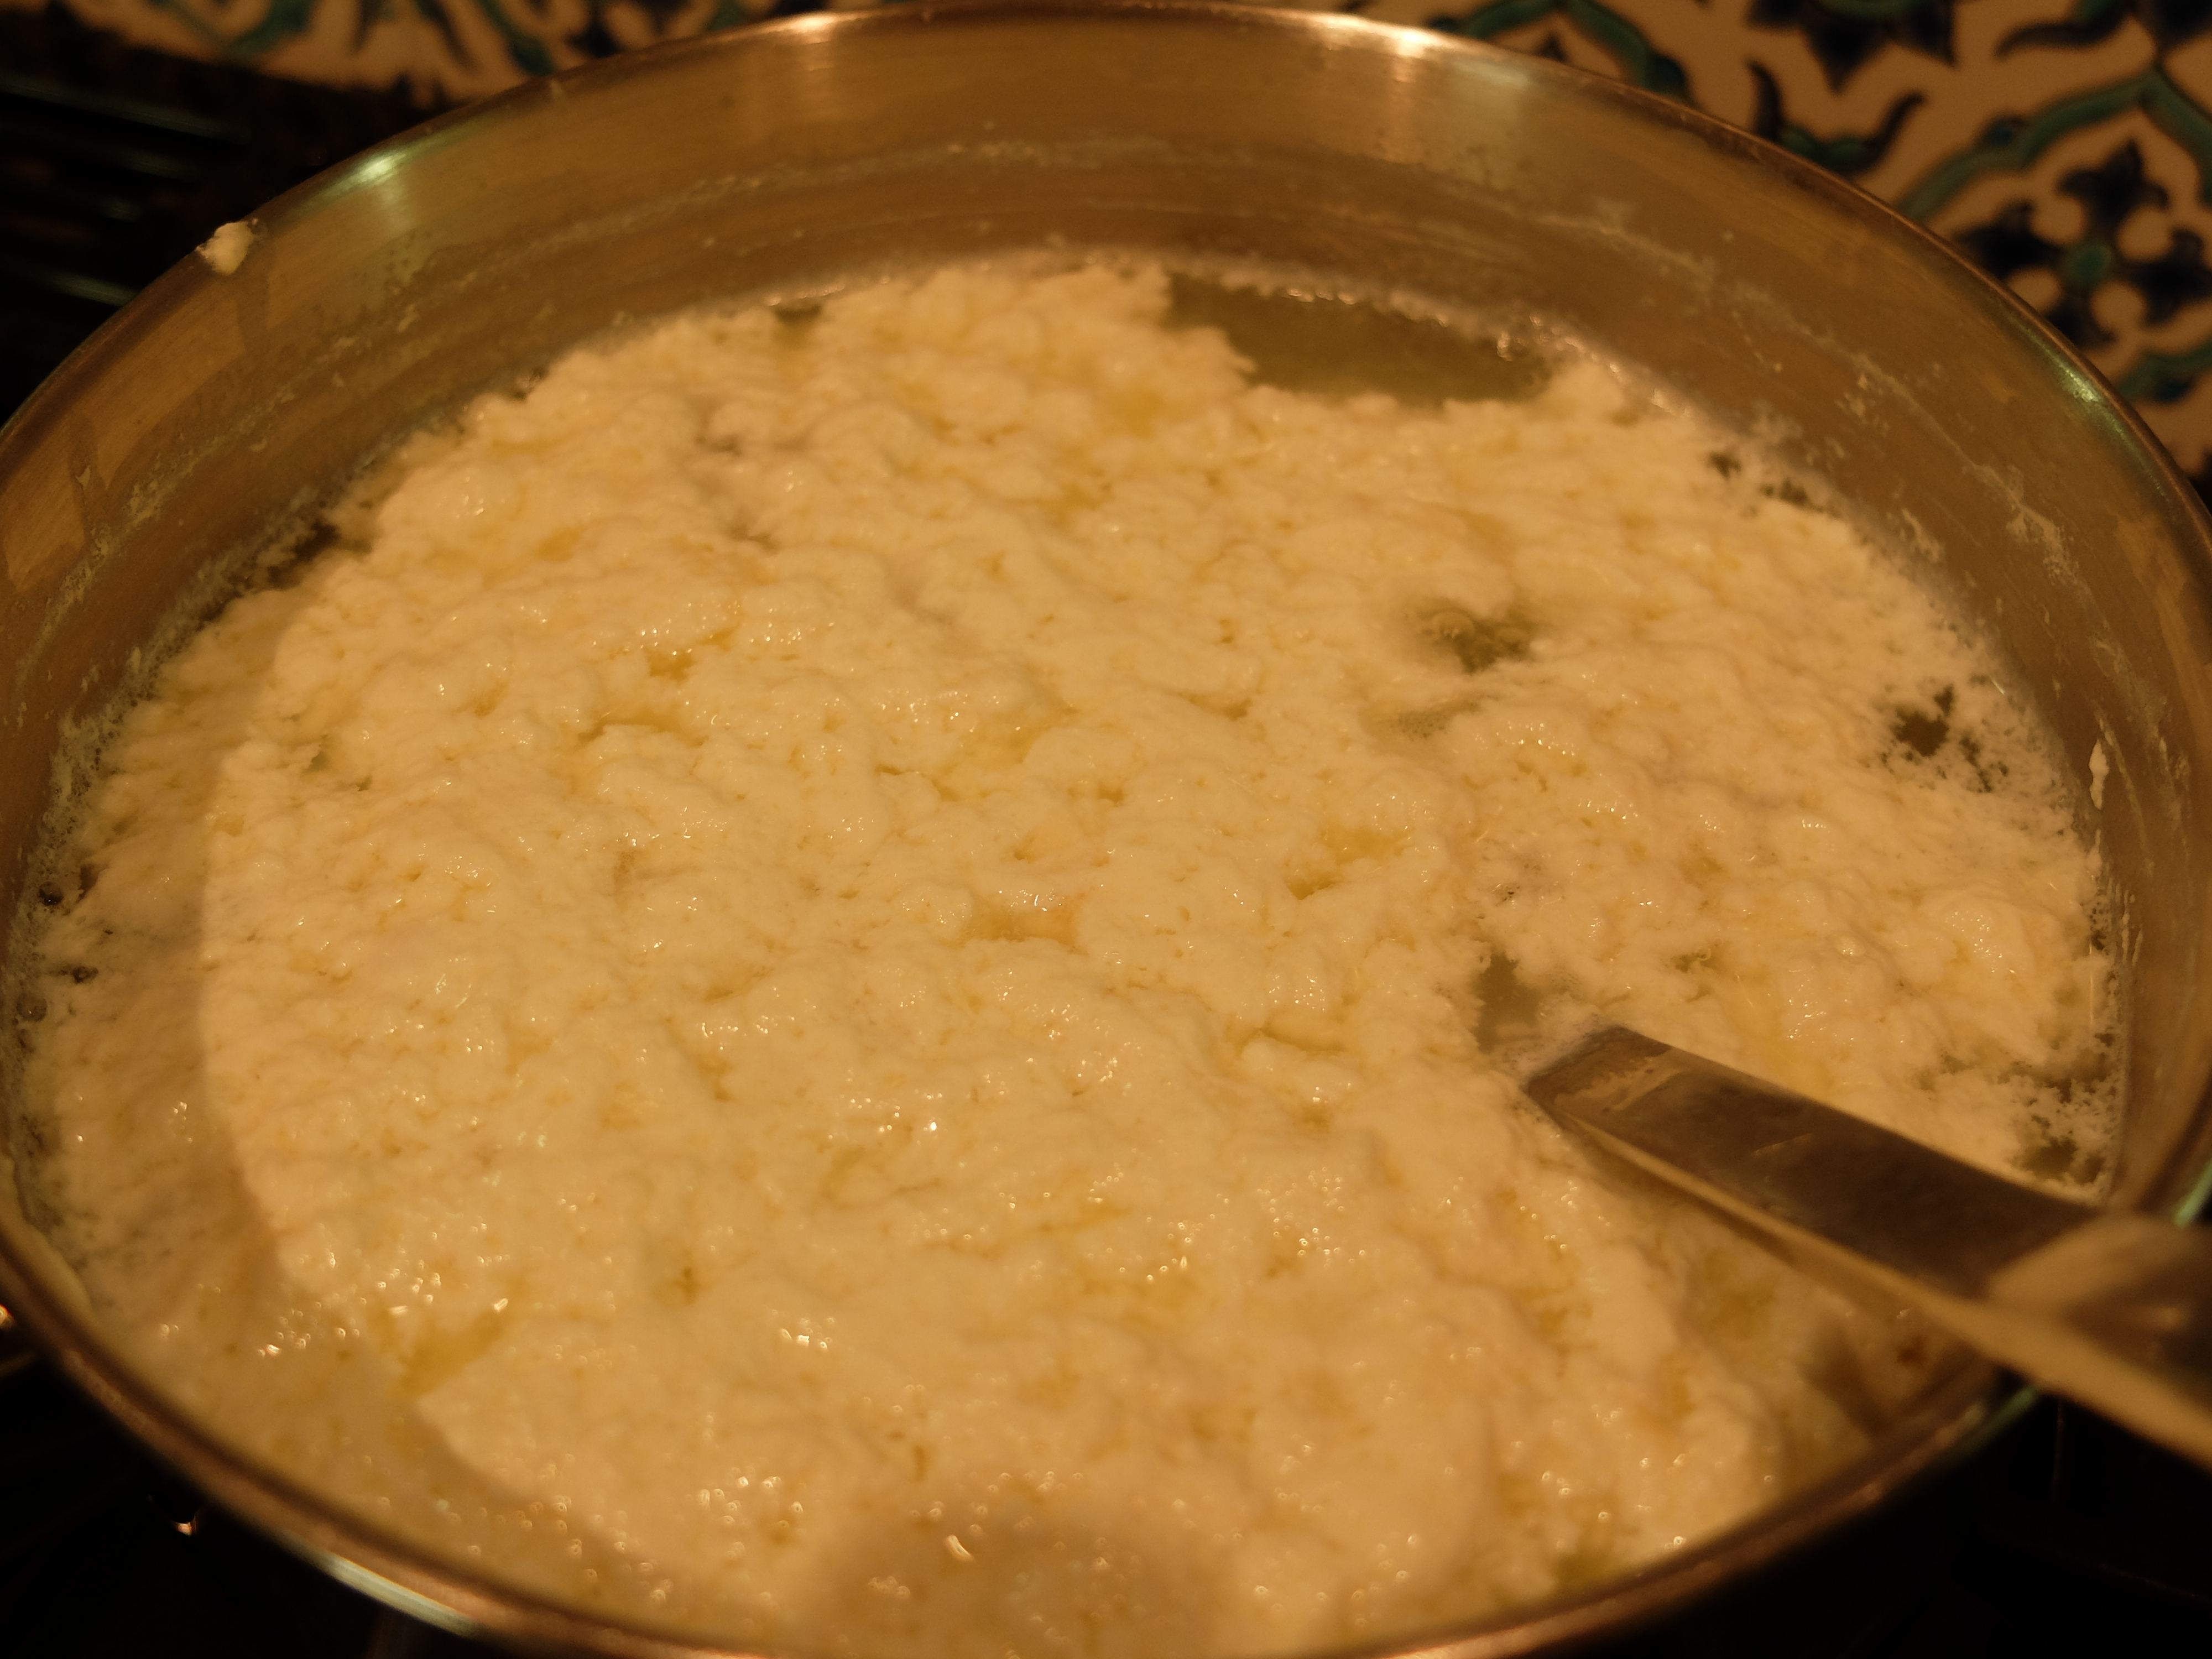
I’ll admit that at my first attempt I didn’t get a great yield of curds and the liquid still looked milky so I heated it back up and added some more lemon juice. Scoop out the curds into a cheesecloth and drain off the whey.

At this point in the cheese-making proceedings it is customary for me to smash something and sure enough I didn’t disappoint. For once, however, it wasn’t something important like a thermometer.

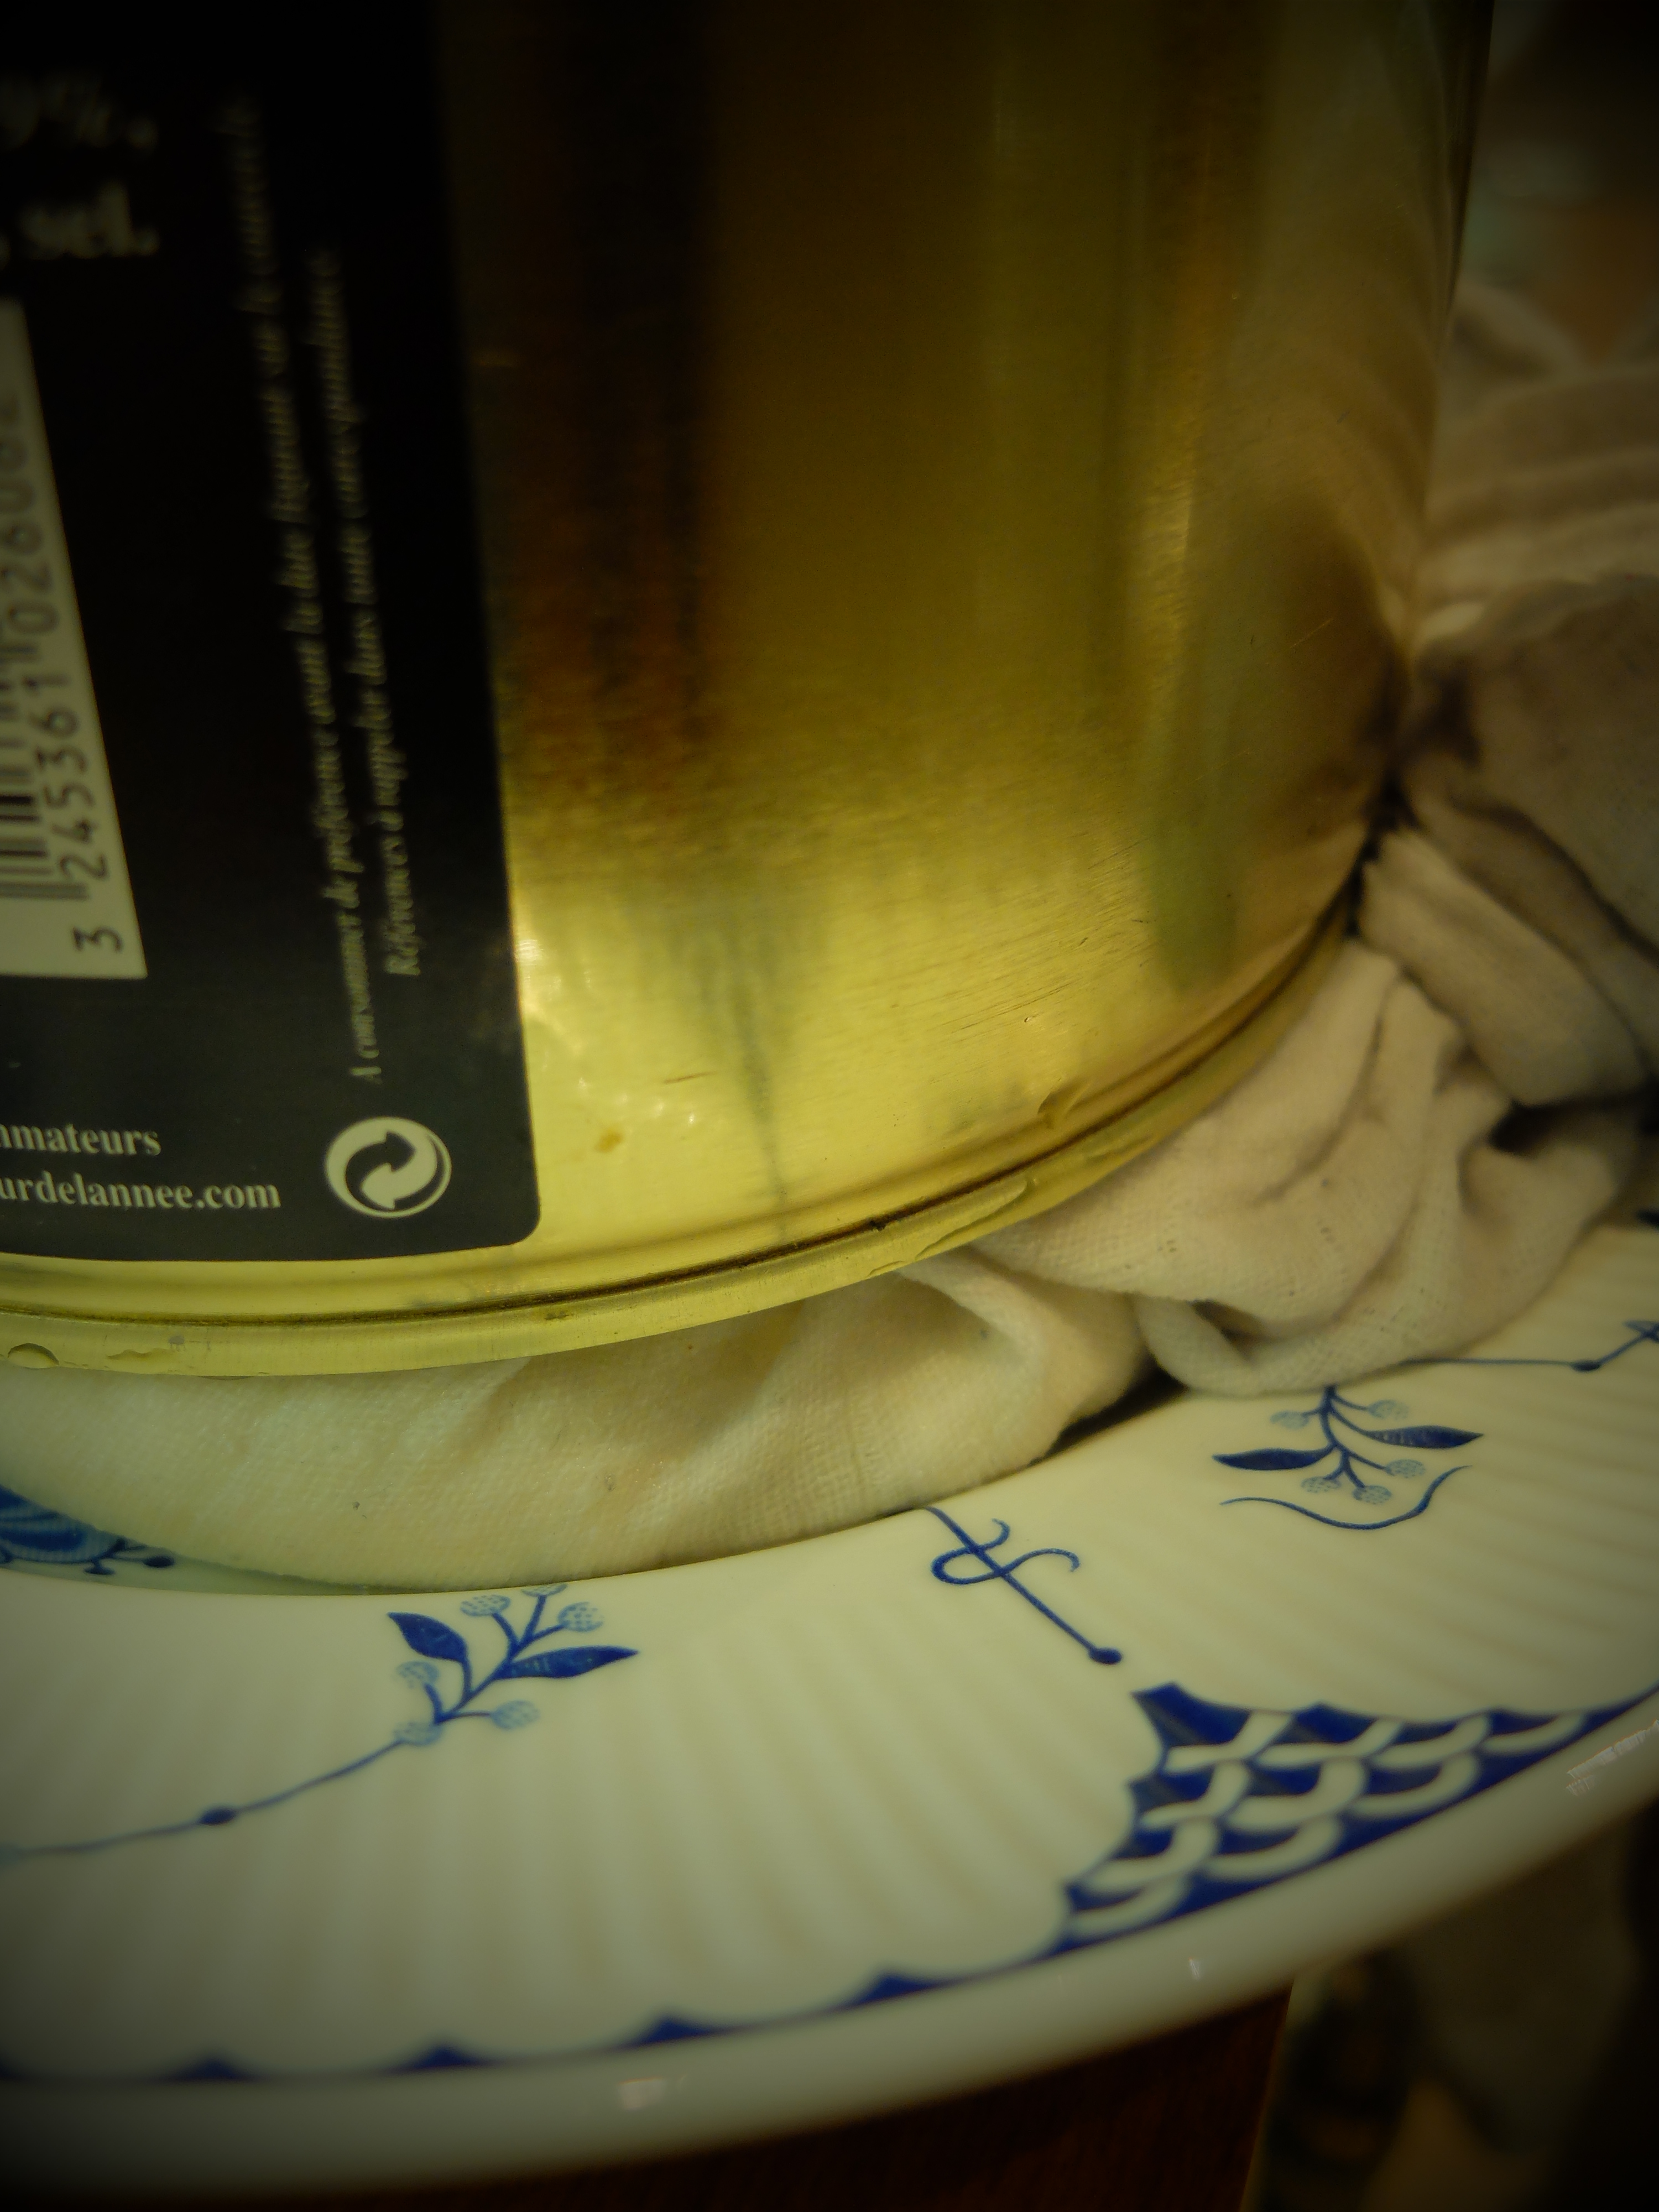
By the time I had cleared up the pint glass carnage, the curds had drained nicely (I hung the knotted cheesecloth from the draining board). Put a heavy object (this is a 1.25 kilo tin) on top of the cheesecloth and leave it to press for about thirty minutes.
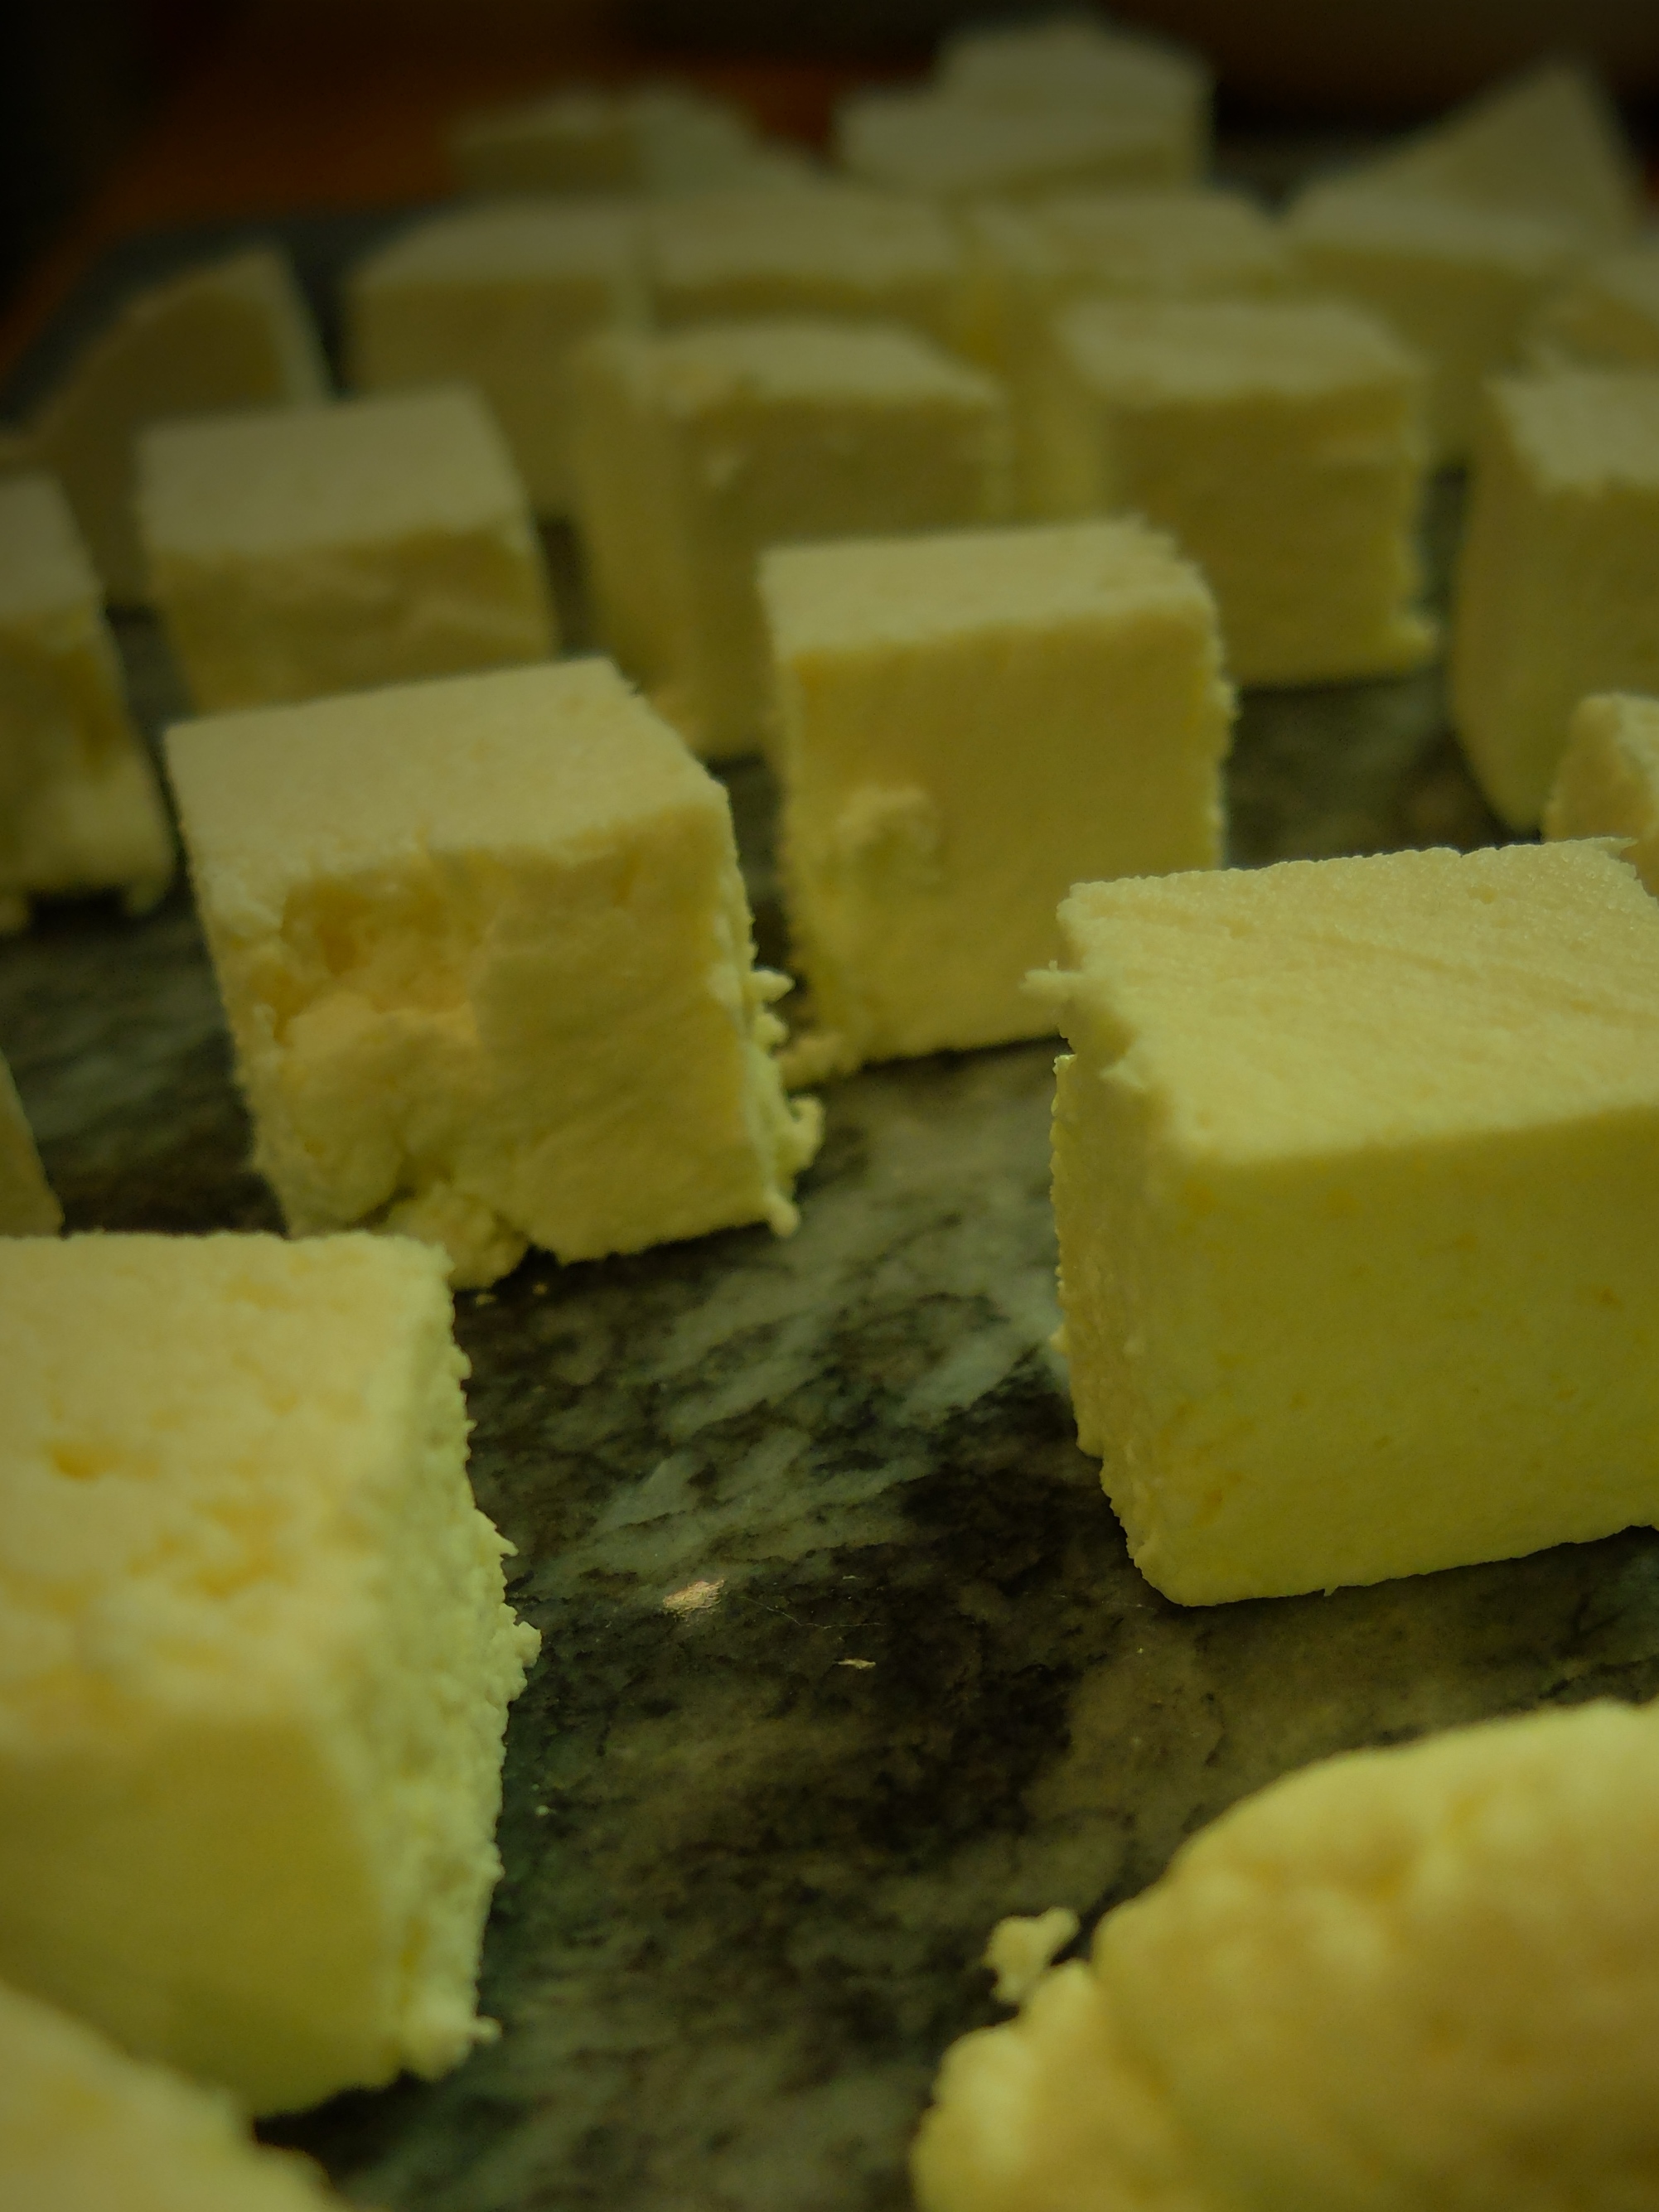
You should be left with a nice firm block of cheese, albeit a bit lumpy and bumpy around the edges.
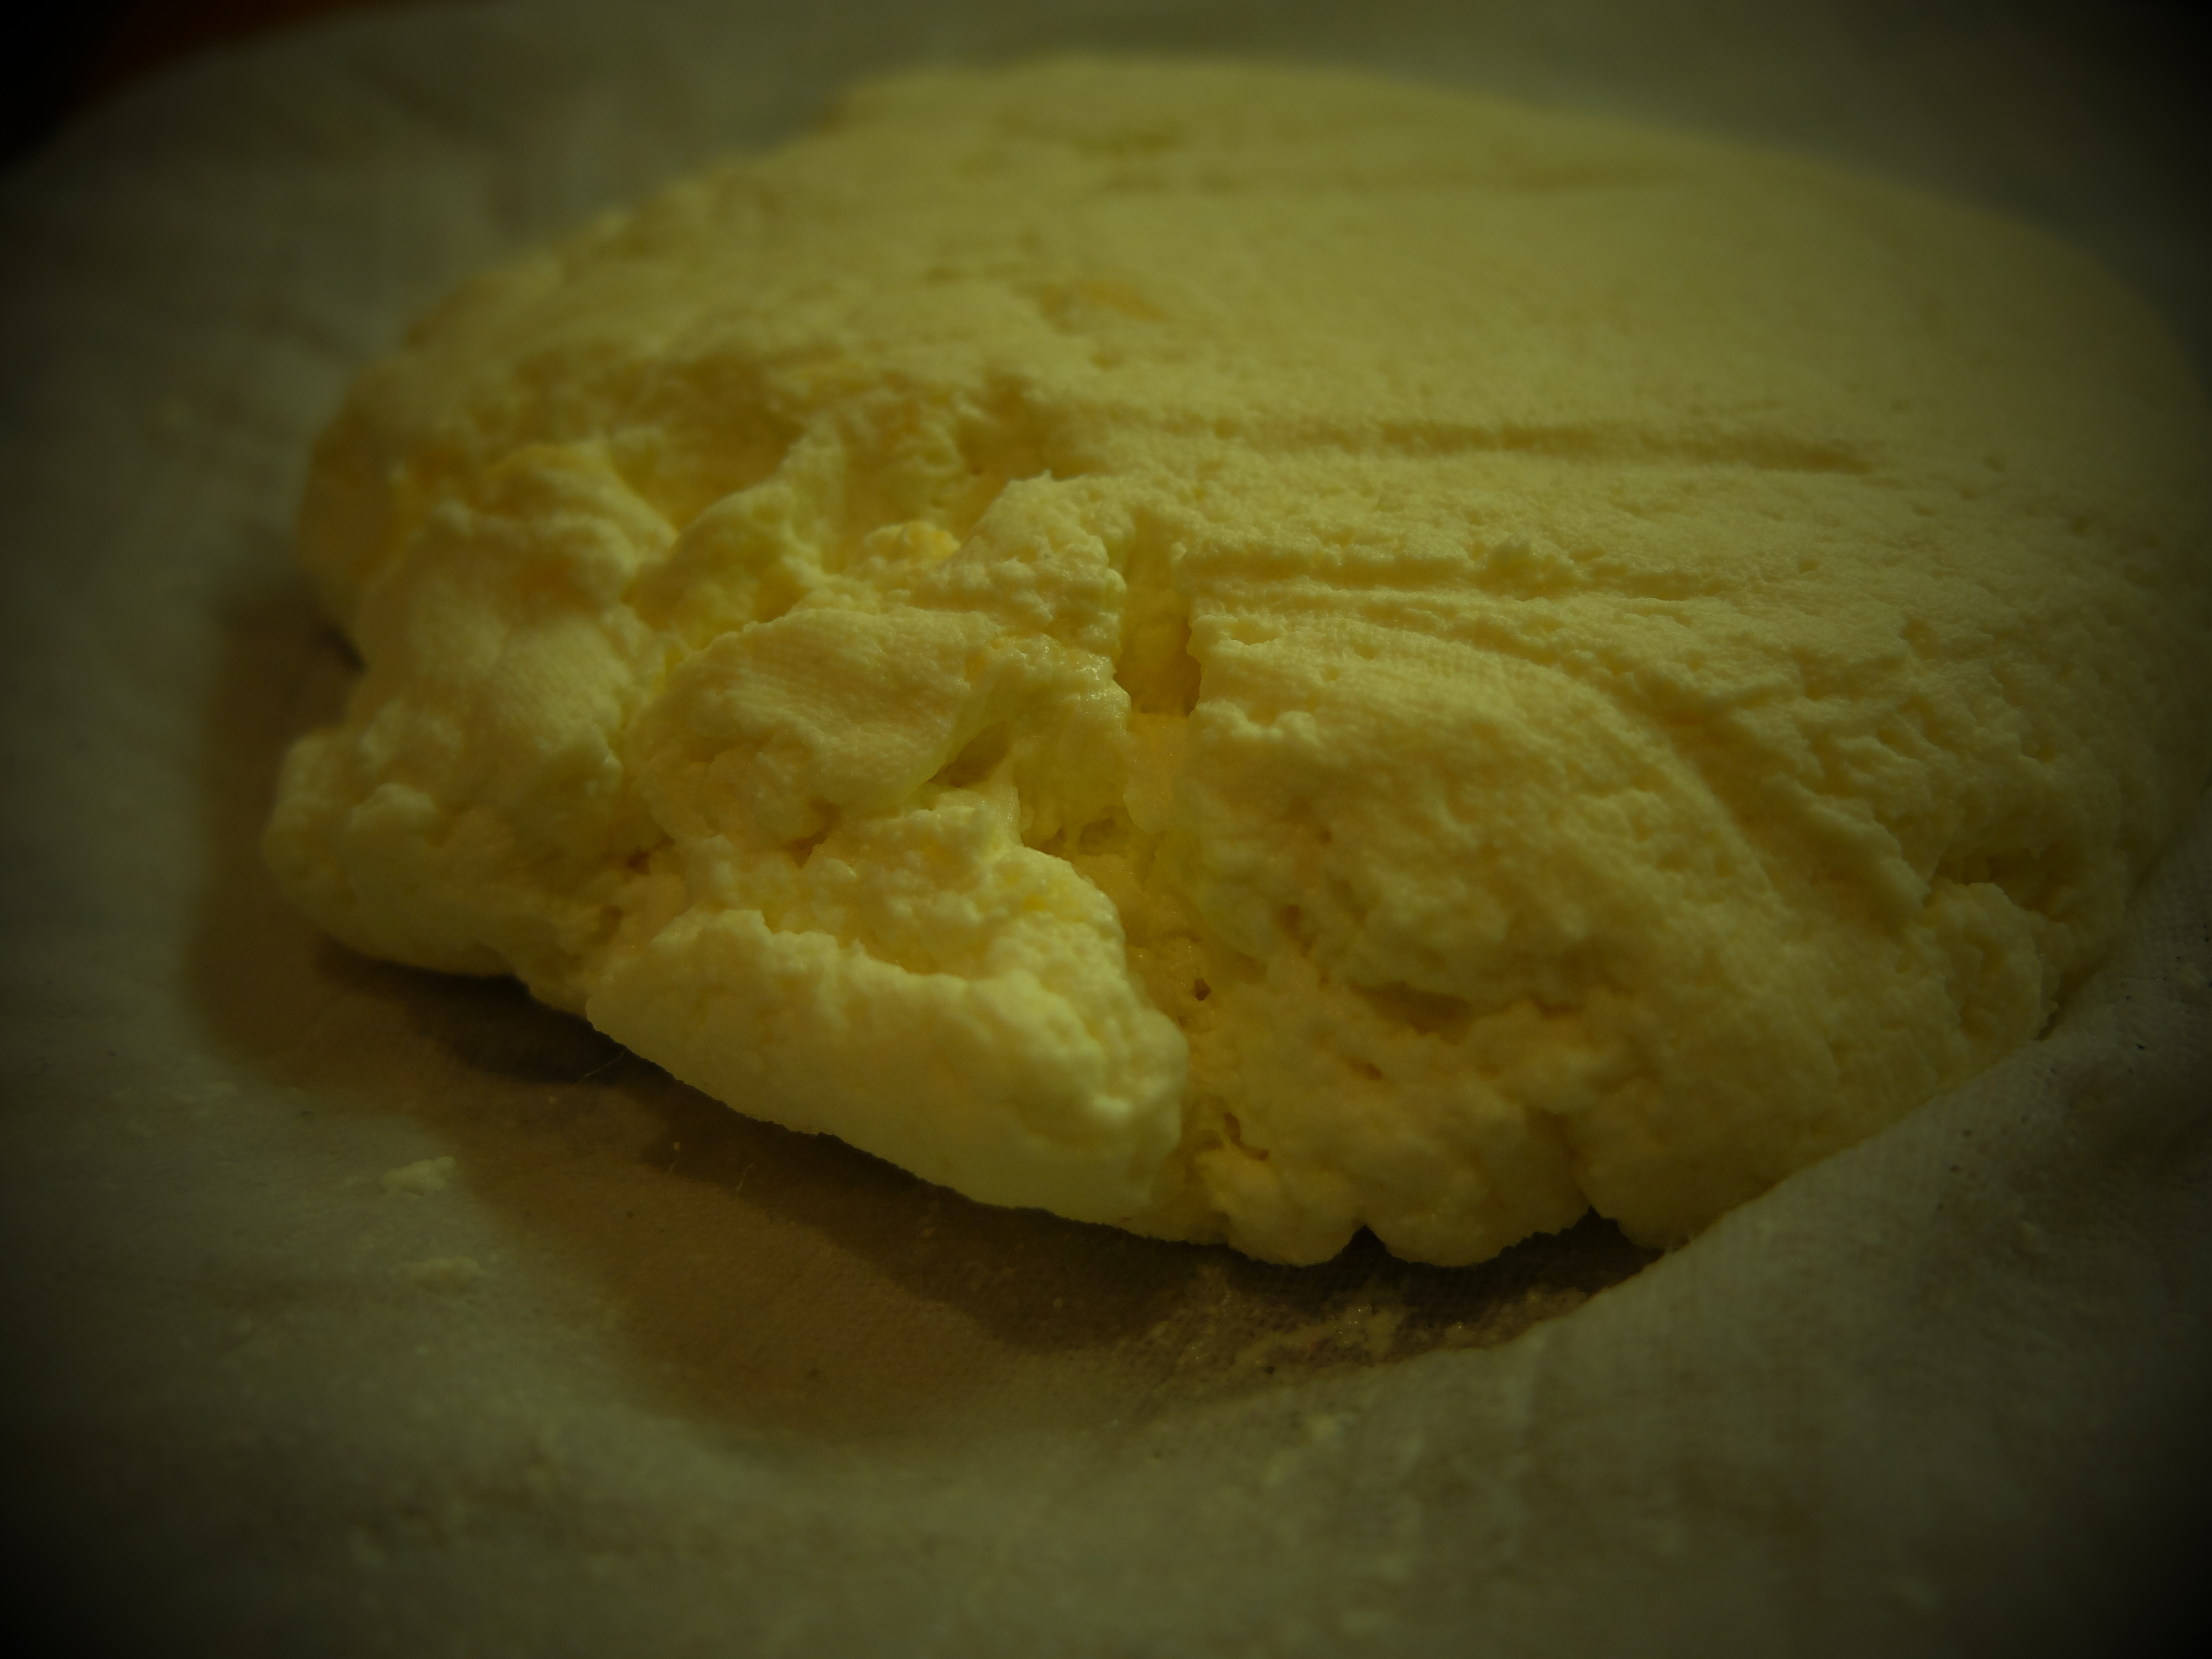
Cut it into cubes or whatever shape you fancy and you’re ready to cook with it.
I decided to make a Balti with my paneer. The origins of Balti curries aren’t clear but they became popular in Birmingham and the West Midlands during the 1980s and 1990s. I grew up not far away and can remember a Balti house opening in my town and going to eat there with a large group of teenage friends. I can’t remember who I was with or even quite where the restaurant was but I can remember what must have been my first encounter with coriander leaves – and being amazed by the taste. I’m fortunate now to live in an area of London renowned for its curries – Indian, Pakistani, Sri Lankan, Bangladeshi and Nepalese – and so I can buy pretty much any spice I want. I made a Balti Masala paste from scratch, based roughly on this recipe from The Curry Guy. The amounts below made enough paste for about four servings:
1.5 tbsp coriander seeds
1.5 tbsp white cumin seeds
1 three inch piece of cinnamon, broken into pieces
½ tbsp black peppercorns
½ tbsp fennel seeds
½ tbsp black mustard seeds
The seeds of three cardamom pods
½ tbsp fenugreek seeds
½ tsp onion seeds
5 cloves
½ tbsp dried mint leaves
15 dried curry leaves
4 bay leaves
1 tbsp turmeric
1 tbsp ground garlic powder
1 tbsp ground ginger powder
½ tbsp ground red chilli powder
Vinegar and vegetable oil
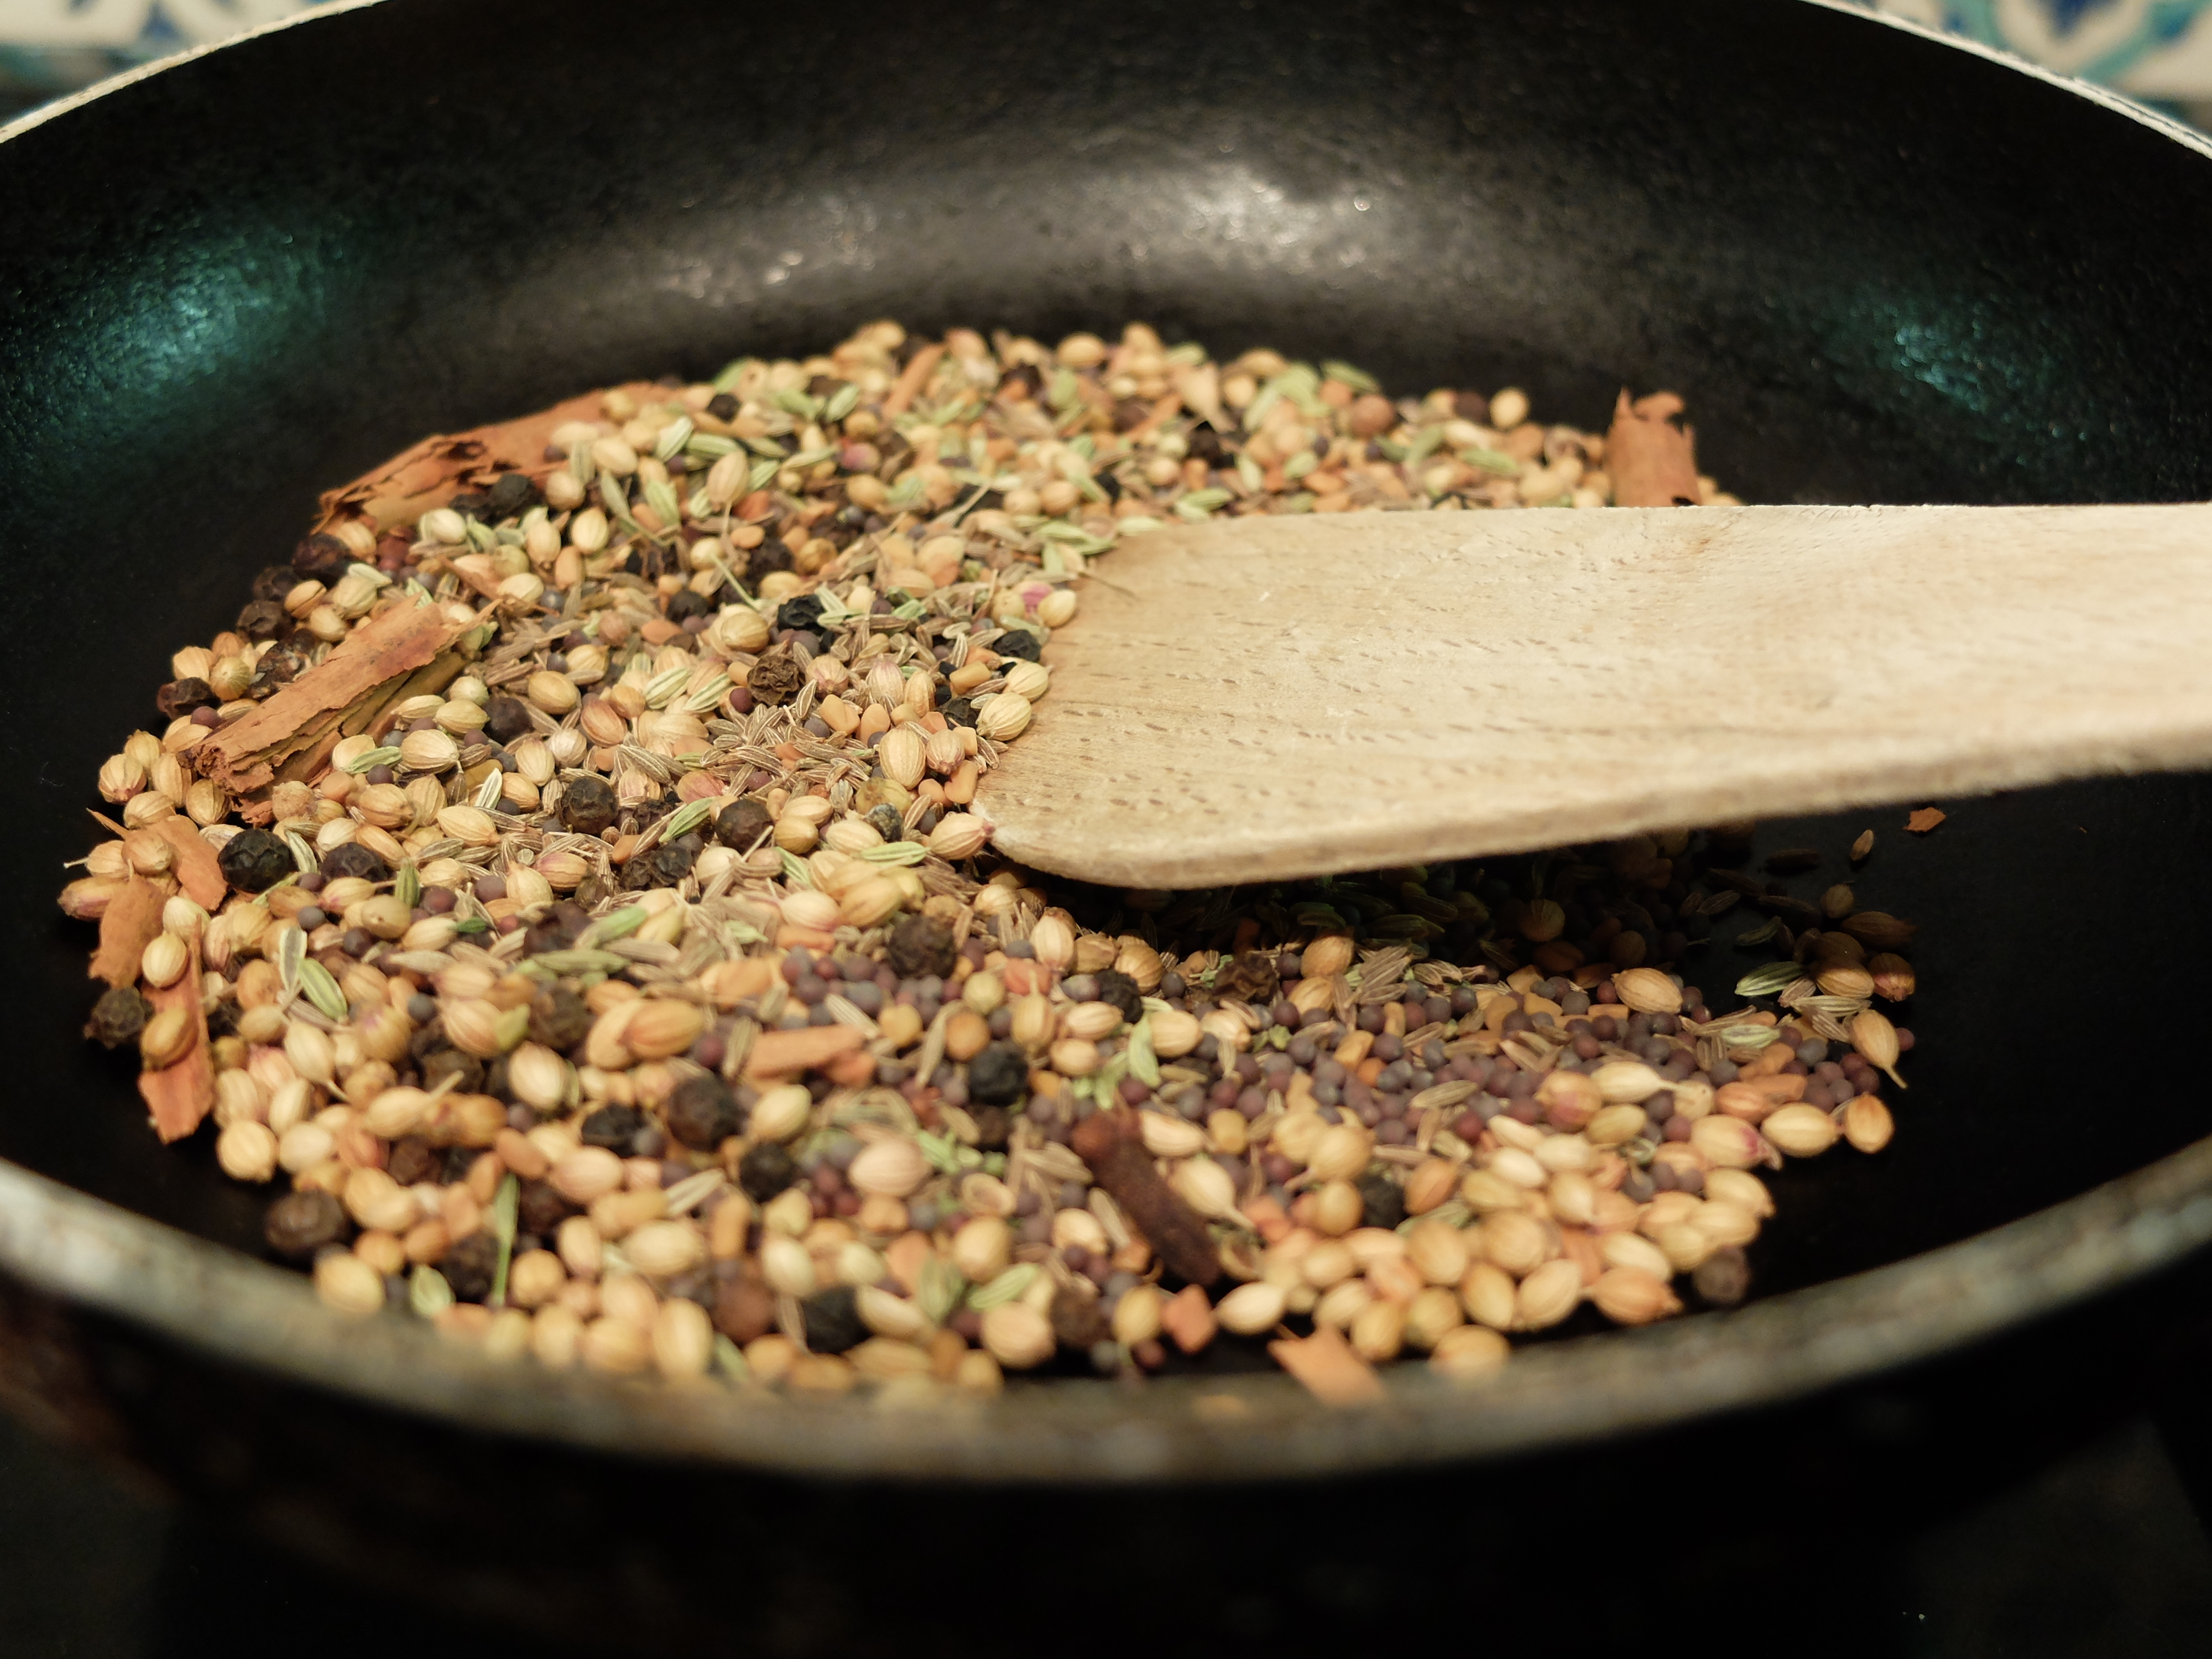
Put the seeds, cloves, cinnamon and peppercorns in a dry frying pan and dry fry over medium heat until the spices begin to smoke.
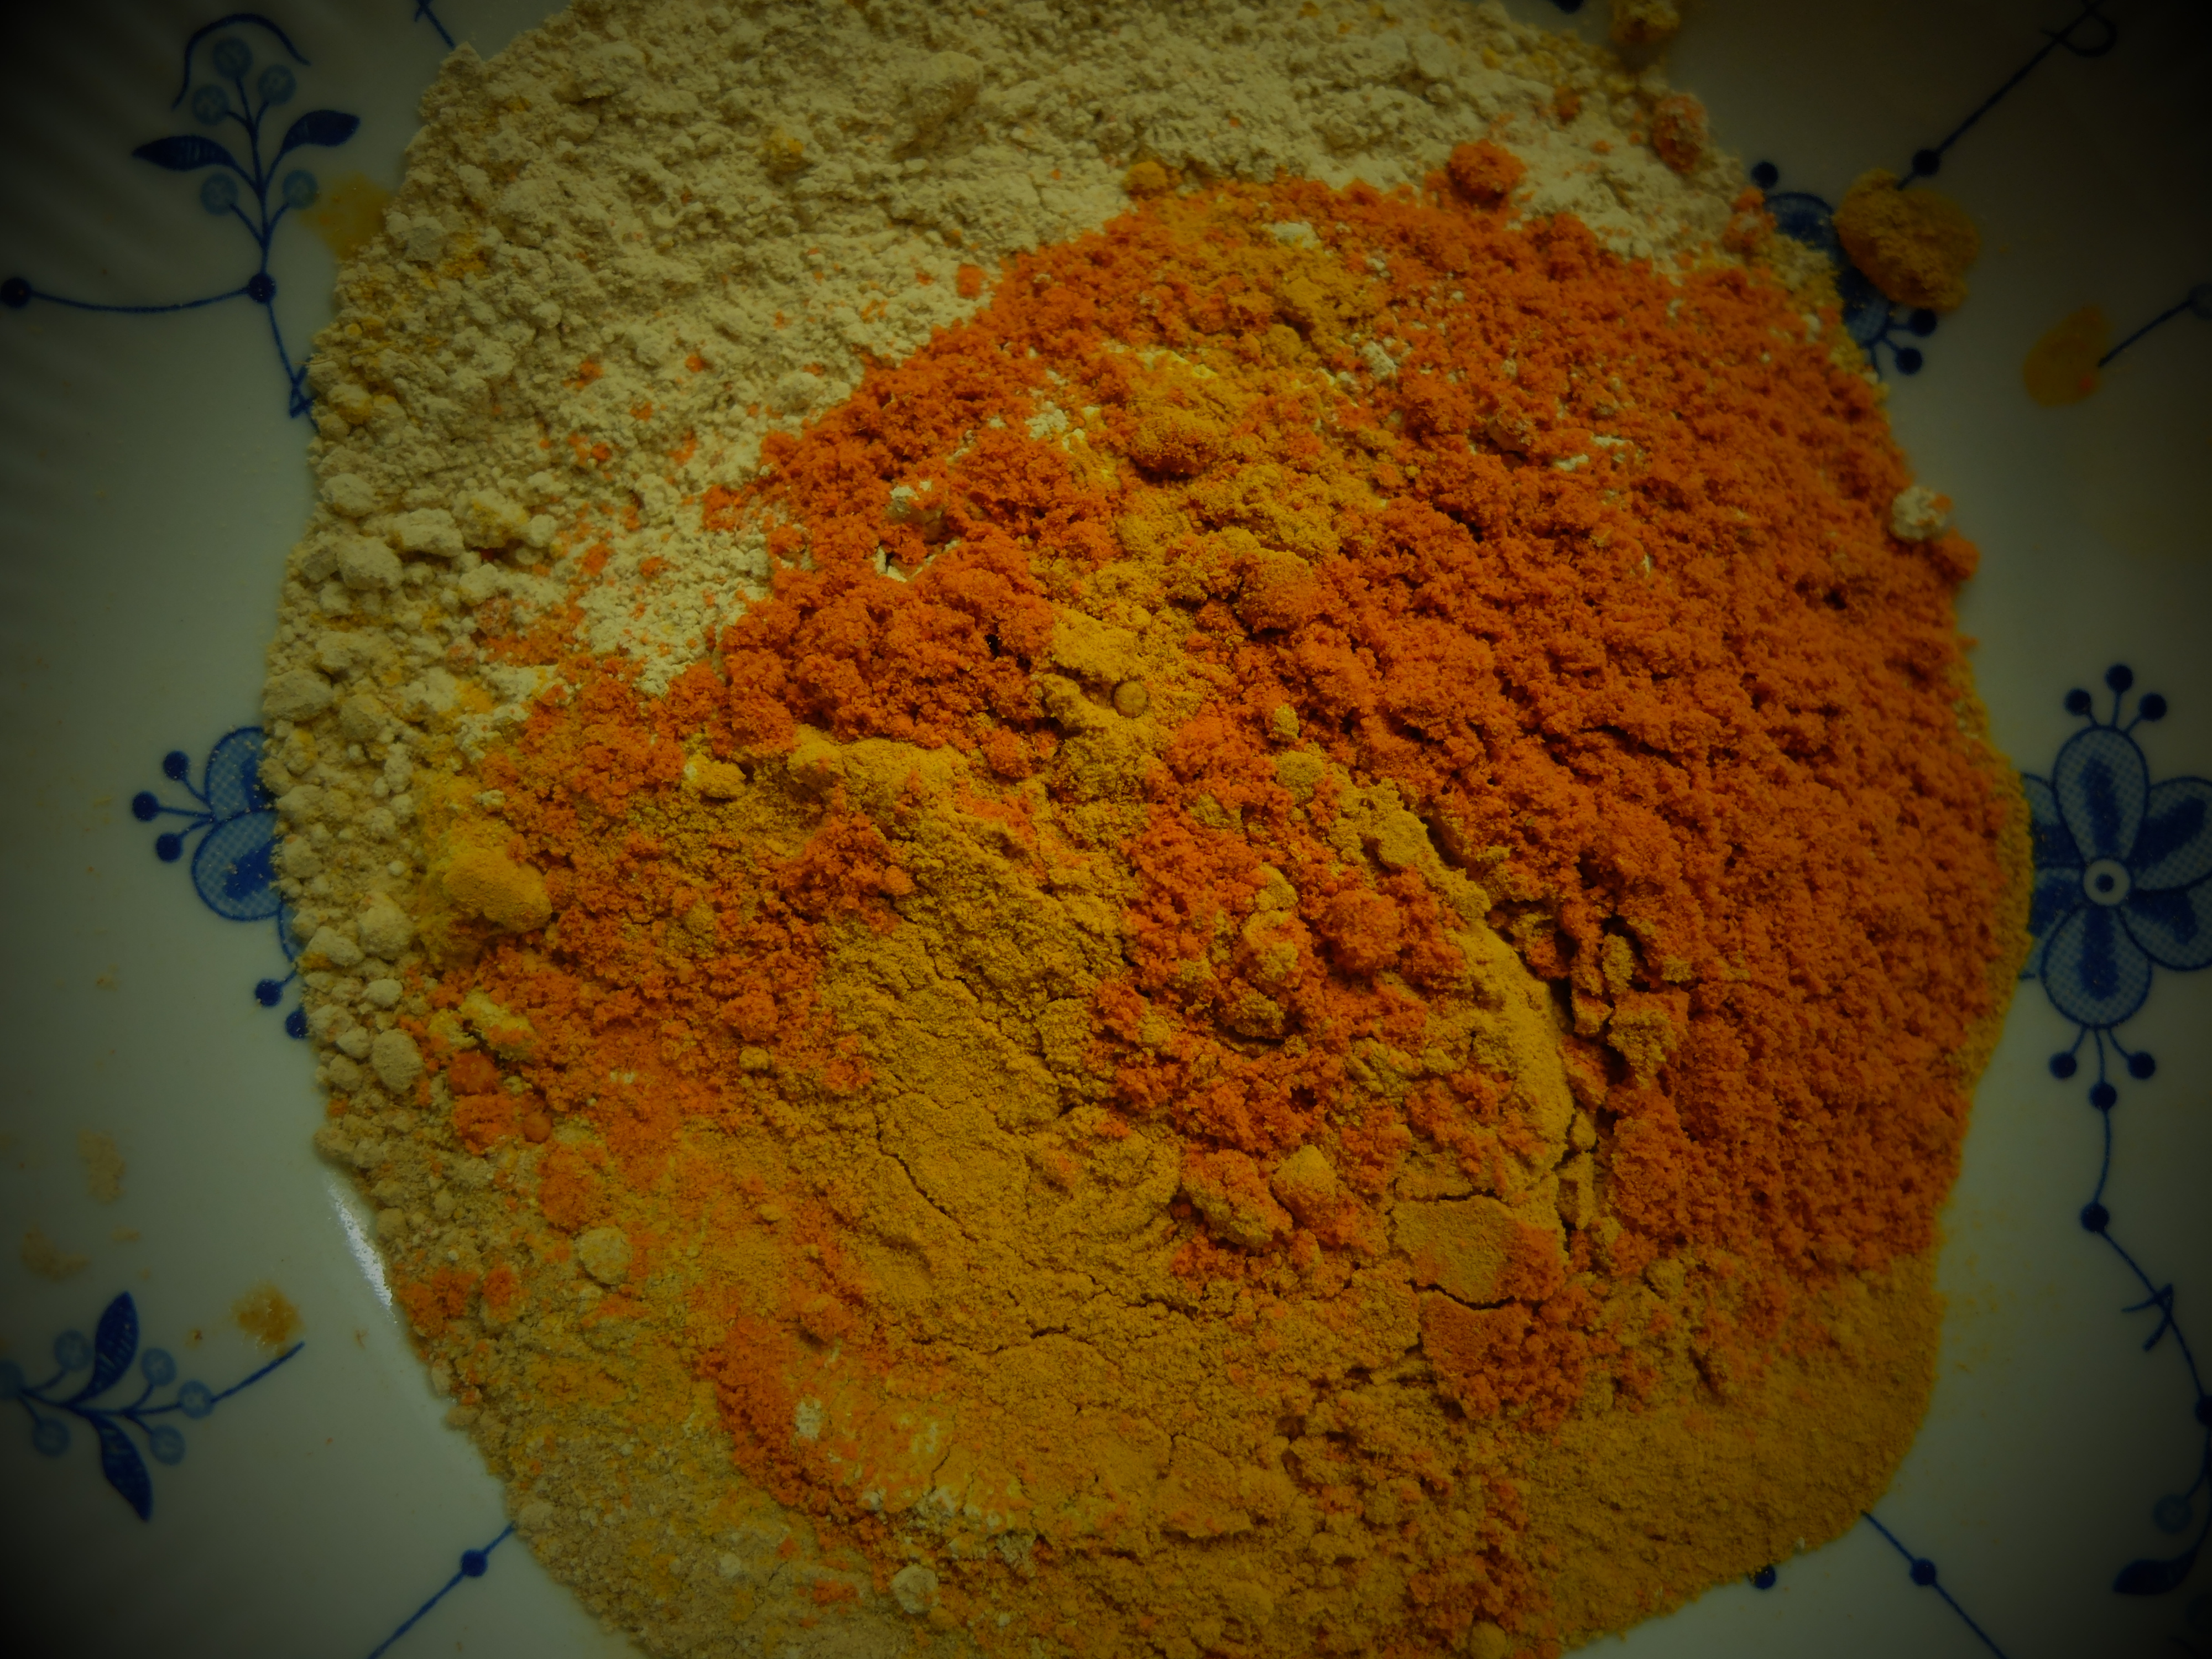
Put these spices along with all the leaves in a spice grinder or pestle and mortar and grind to a fine powder.

Add the rest of the ground spices and mix well. At this point I can guarantee that your kitchen will be smelling incredible.
Mix one heaped tablespoon of the powder with two tablespoons of vinegar and two tablespoons of vegetable oil to form a paste.
Finely chop up one onion, three cloves of garlic, a thumb-sized piece of ginger, one red chilli and one red pepper. Fry in some oil until softened.
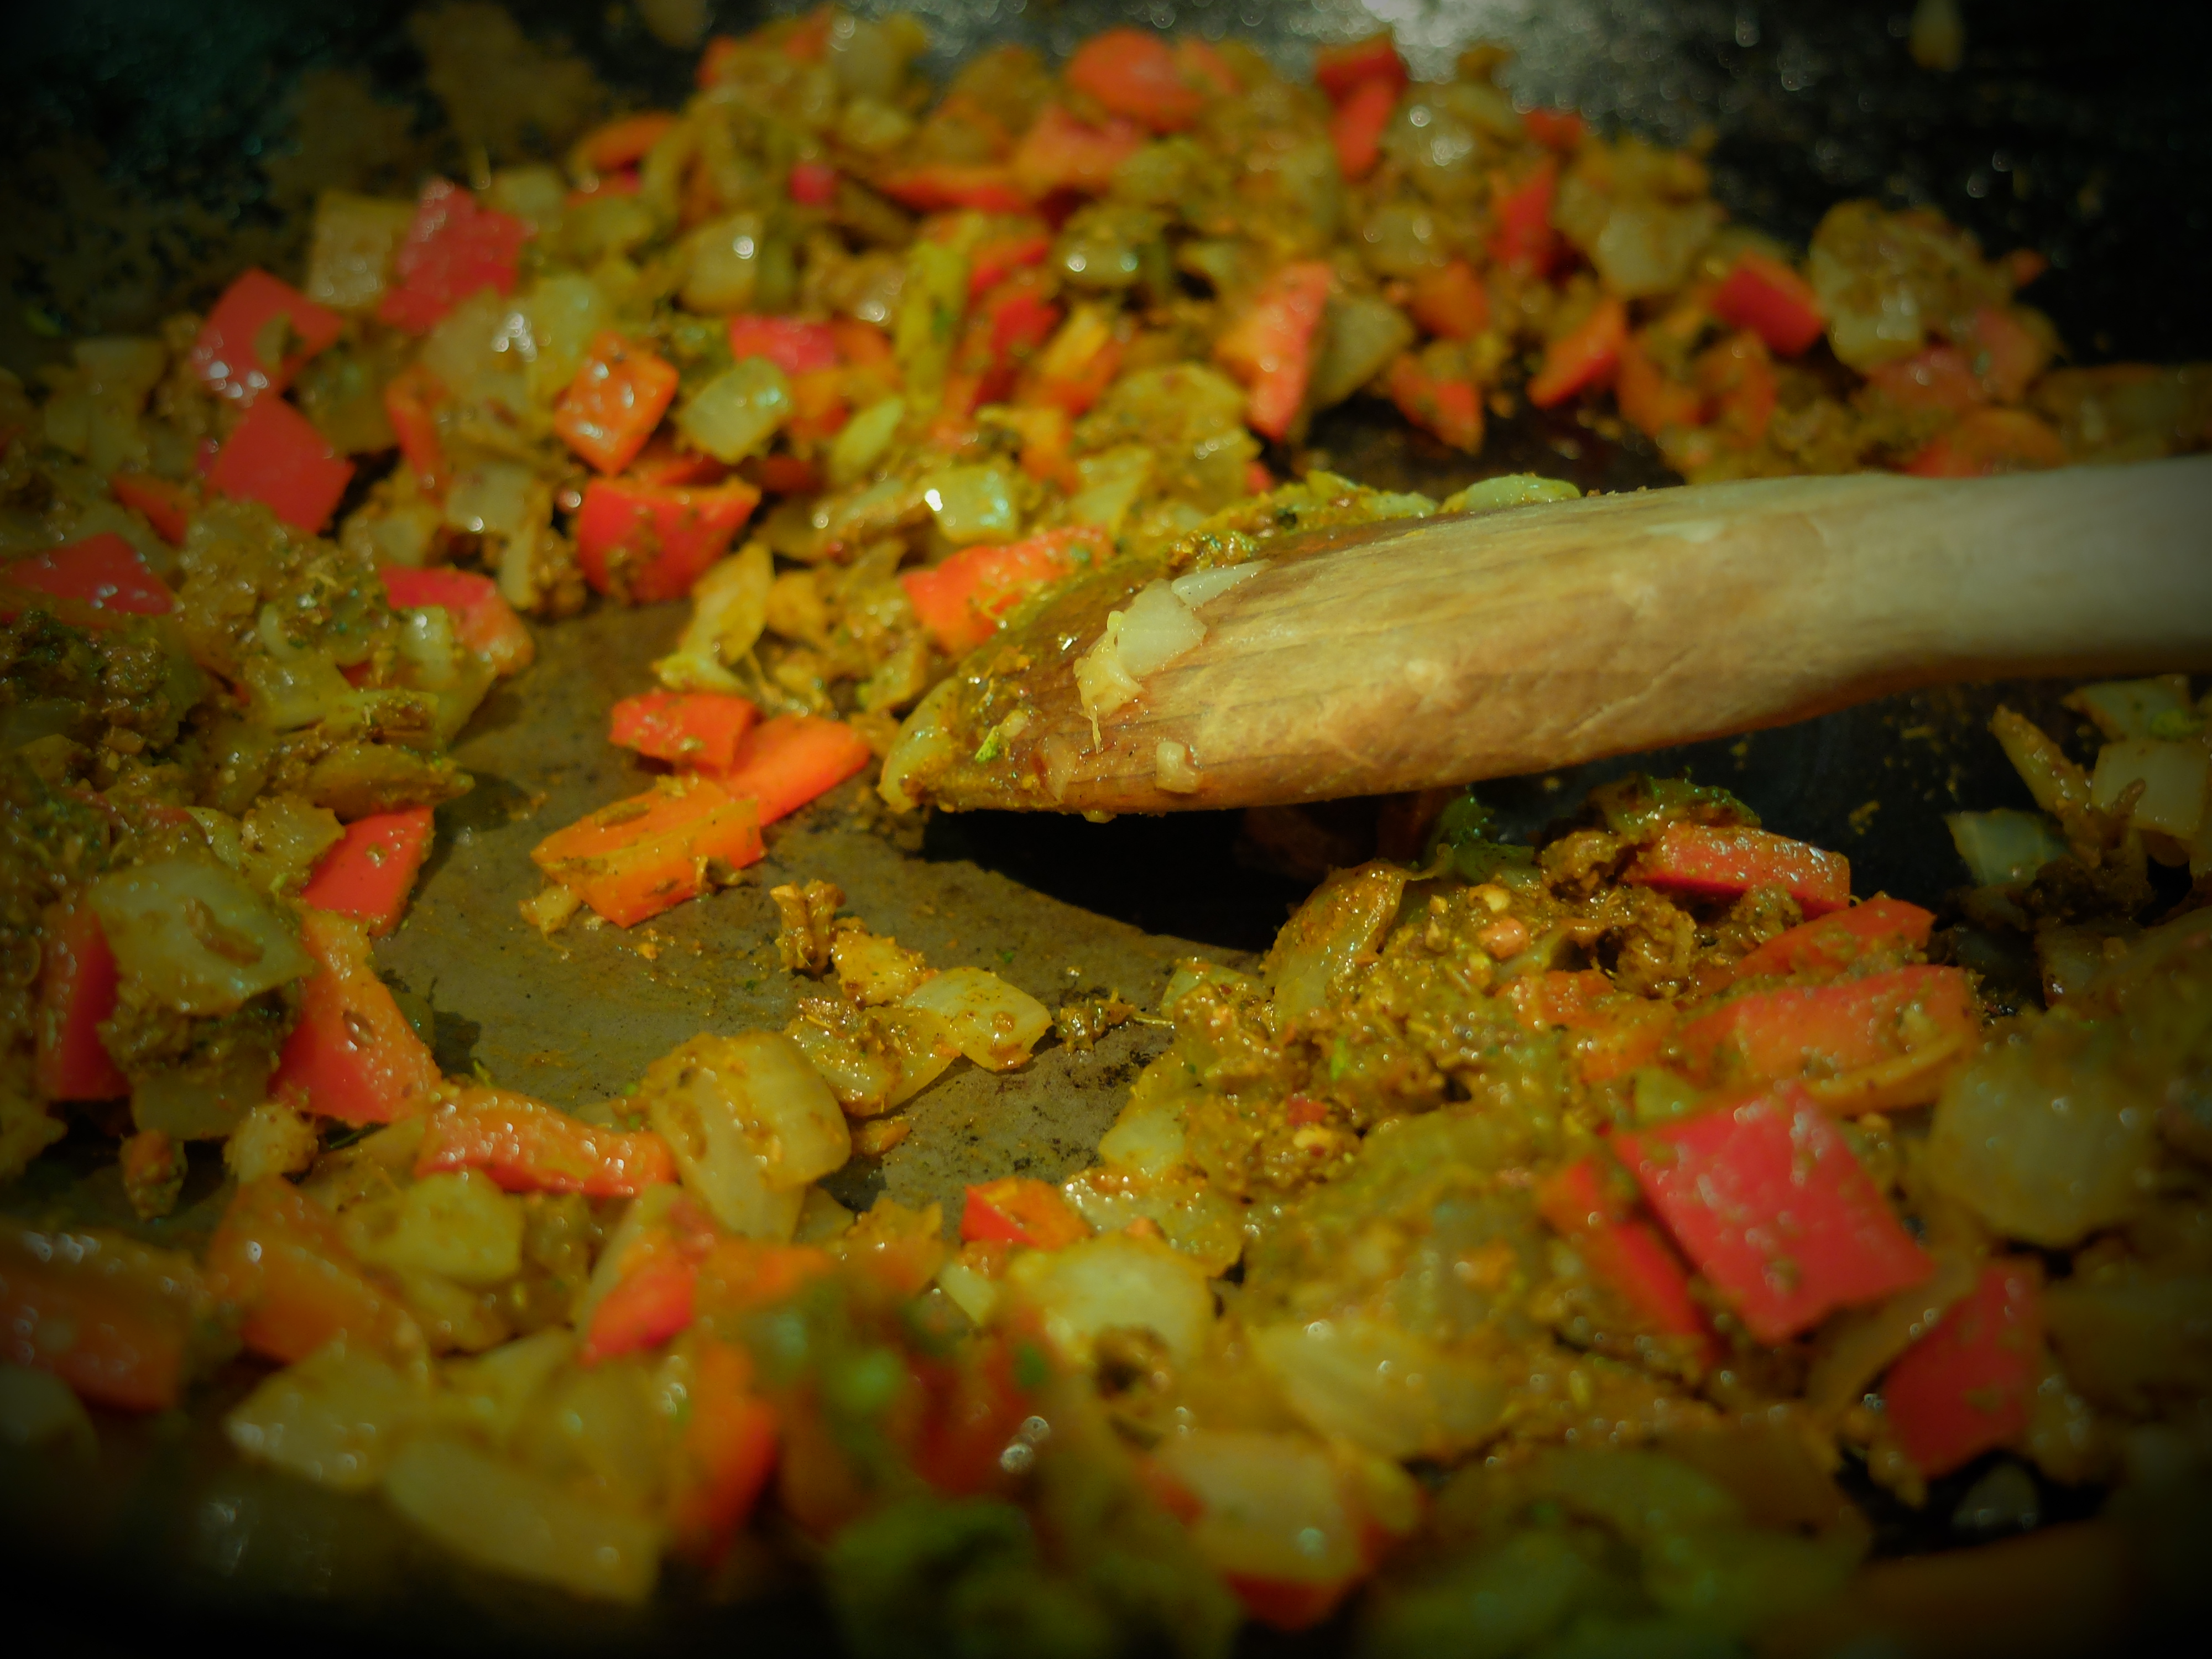
Add one tablespoon of Balti Masala paste per serving and stir well whilst heating it up. Add one tin of tomatoes and 450ml of stock (I used chicken). Bring to the boil and simmer for about 25 minutes.

At this point add your paneer. Mine felt a bit soft and I was worried it was going to dissolve so added it gently to the sauce and let it simmer for about five minutes, whilst covering the pieces in the sauce. Remarkably it stayed in one piece. Garnish with lots of chopped coriander and serve with naan breads and yoghurt.


Oddly, I have been put off paneer by eating some that was very squeaky (also the reason that I hate halloumi. Food should not still be squeaking when you eat it). I regularly make curd cheese like this, without the pressing, which does not squeak. I might have to give it a go myself, because this curry does look good.
Ha! I know what you mean about squeaky although I am partial to a bit of halloumi. This wasn’t squeaky at all; it was so soft I thought it was going to fall apart. I think it depends how hard and long you press it for.
That sounds worth making just to be able to fill the kitchen with the scent of all those spices. I’ve never eaten paneer… I’m not sure it’s a cheese I could get past my cheese-hating daughter, but a challenge is always good!
Yes, the spices smelled amazing. You could always make the paste and use it for meat or vegetables. It’s quite a creamy cheese – does she like ricotta? If not, could be quite a challenge!
That is a good-looking dish of food. I’ve always wanted to have a go at home-made paneer but Him Outdoors has a pathological fear of any foodstuff he thinks might be “squishy”.
It is quite squishy! Before, when I’ve bought paneer I have pre-fried it so that it goes a bit crispy although I don’t think this paneer would have stood up to that. You could always cut it up small and use it as a filling for pakoras or samosas – would he put up with that?!
I’ve been wanting to have a go at Paneer for a long time, but the notion of making any cheese of my own is terrifying! Maybe it’s time to be brave!
Honestly, you can’t go wrong with paneer – give it a go! And report back 🙂
Looks amazing! There’s an art to making cheese 🙂
Fortunately for me, this cheese was fairly idiot-proof and so little art or craft required. It’s when things get more complicated that I come unstuck!
Looks wonderful!
It was lovely. Very tasty with all the spices and the creaminess of the cheese cut through the heat a bit.
I will have to try it. I normally just slice Paneer then bread and fry like a cheese stick.
Oooh! I’ve been wanting to make paneer for a while. I think this post has given me the motivation to try it (hopefully) this week!
Go for it! It really was very easy – took less than an hour from start to finish. Let me know how it goes 🙂
I had no idea paneer was so easy to make! I may have to have a go. PS – love the new background with the moo cows on it 🙂
Thanks about the background 🙂 I was told that the yellow cheese looked ‘tacky’ (!) and to be fair it was a bit grotty. Paneer is very easy to make – go on, you know you want to…
I love paneer but never made it myself. I made this recipe a while back – lots of ingredients but very tasty: http://foodienelly.wordpress.com/2010/06/14/paneer-with-tomato-and-cashew-nut-sauce/
Looks lovely. I do love cashew nuts in a curry. There’s a Sri Lankan recipe I cook sometimes which has lots of coconut and cashews, yumyum.
Nice! Your results look far superior to mine when I first attempted this a couple of years ago – it was a crumbly mess, despite my following explicit instructions. Now I buy it in bulk from Costco and keep it in my freezer – perfect for vegetarian curry-lovers! 😉
Ah, that’s the thing about milk – you never quite know whether it’s going to obey you or not. I think this is probably the first cheese I’ve made that hasn’t been a bit ‘wrong’ on some level! I do like shop-bought paneer as it’s firmer so you can pre-fry it for crispiness if the fancy takes you.
Wow, I can’t believe it’s that easy to make paneer! That looks like a great balti.
It’s a nice spice mix – smells amazing 🙂
I didn’t know paneer was so easy to make! I’ll have to give it a go. I’ve just made a middle eastern style white cheese, which is very similar – separated with rennet rather than lemon though. I’d like to progress to making hard cheeses but they sound insanely complicated…
PS the curry looks bloody lovely
You should give it a go. If you are already using rennet, you just need to throw in some starter culture and do a bit of pressing and the job’s done! Admittedly my first Cheddar wasn’t a roaring success but it was good fun.
It’s the starter culture that seems like a faff. Do you just buy ones for specific types of cheese?
For most cheeses you use a mesophilic starter. The exceptions are some Swiss cheeses and Italian ones like Parmesan (they use thermophilic). Obviously if you want to do something fancy like a blue cheese or bloomy rind, you need others too, but mesophilic is fine to start with.
Cool, thank you! I’ll look into it.
I’d never heard of paneer until about two weeks ago… I’m quite certain it’s a cheese that I would definitely like. The balti looks amazing… the combination of spices so lovely.. 🙂 Wonderful post!
Go on, give the paneer-making a try. Did you get a fondue set in the end?
Both the paneer and balti look wonderful. Now on my to-do list.
It’s a lovely spice mix. The Curry Guy’s website has all kinds of different ones, so I’m looking forward to trying some others out.
Pingback: Whey to Go! Lacto-Fermented Vegetables with Dill | Fromage Homage
I love paneer! I had no idea it was this simple to make. Intriguing…
Yes, it’s very easy. Give it a go!
Pingback: Spicy Balti With Home-Made Paneer Cheese - Cookery Ideas - Cookery Ideas
I love homemade cheese…I look forward to perusing your endeavours!
Thanks 🙂 Have you tried making any yourself?
Pingback: March’s Cheese, Please! Recipe Blog Challenge – Fresh Cheese | Fromage Homage